BRISKET
LOW & SLOW. BIG REWARDS.
Brisket rewards patience and good technique. From choosing and trimming the meat to managing the fire, building bark, wrapping, resting, and making the final slice, this guide walks you through the complete process.
You’ll learn how to control the cook instead of simply chasing temperatures - so you can produce tender, juicy brisket with a deep bark and clean smoke flavor.
Cook TEMP: 225–275°F
FINISH: pROBE TENDER, USUALLY AROUND 200–205°F
REST: AT LEAST 1 HOUR
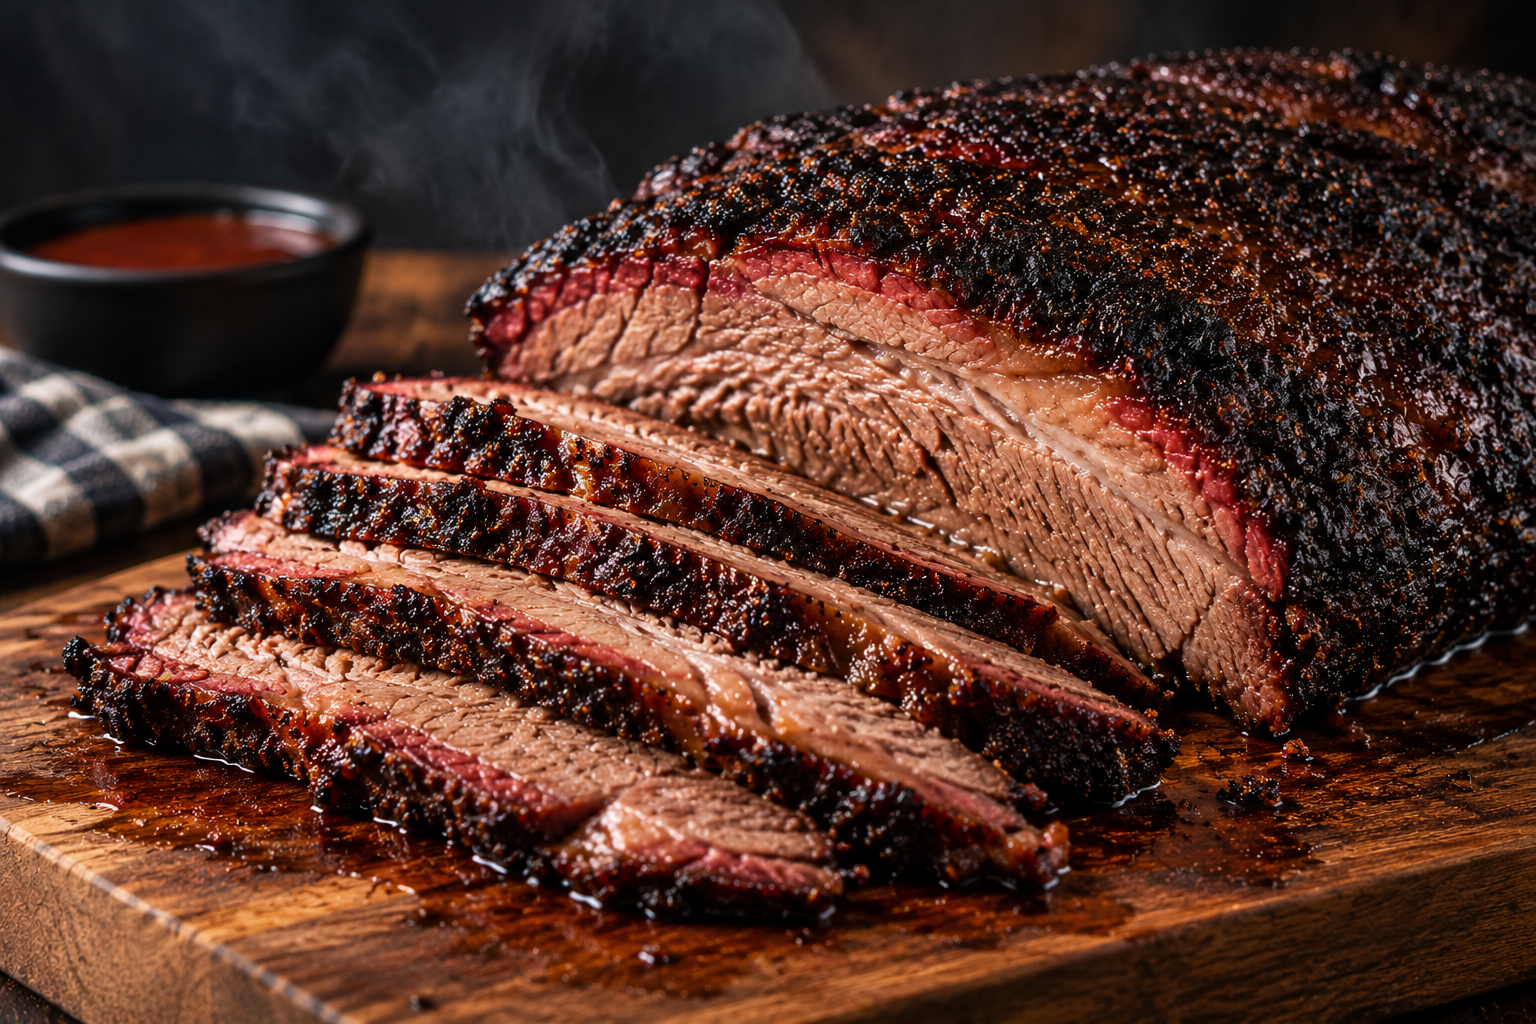
CHOOSE THE BRISKET
START WITH THE RIGHT BRISKET
A good brisket starts before the smoker is ever lit. Look for a whole packer brisket with a good balance of flat and point, consistent thickness through the flat, and enough marbling to stay moist during a long cook.
Pick up the brisket and check its flexibility. A brisket that bends easily is generally easier to work with than one that feels extremely stiff.
Pay special attention to the flat. Avoid briskets with an extremely thin or tapered flat, since those areas can dry out before the thicker portions finish cooking.
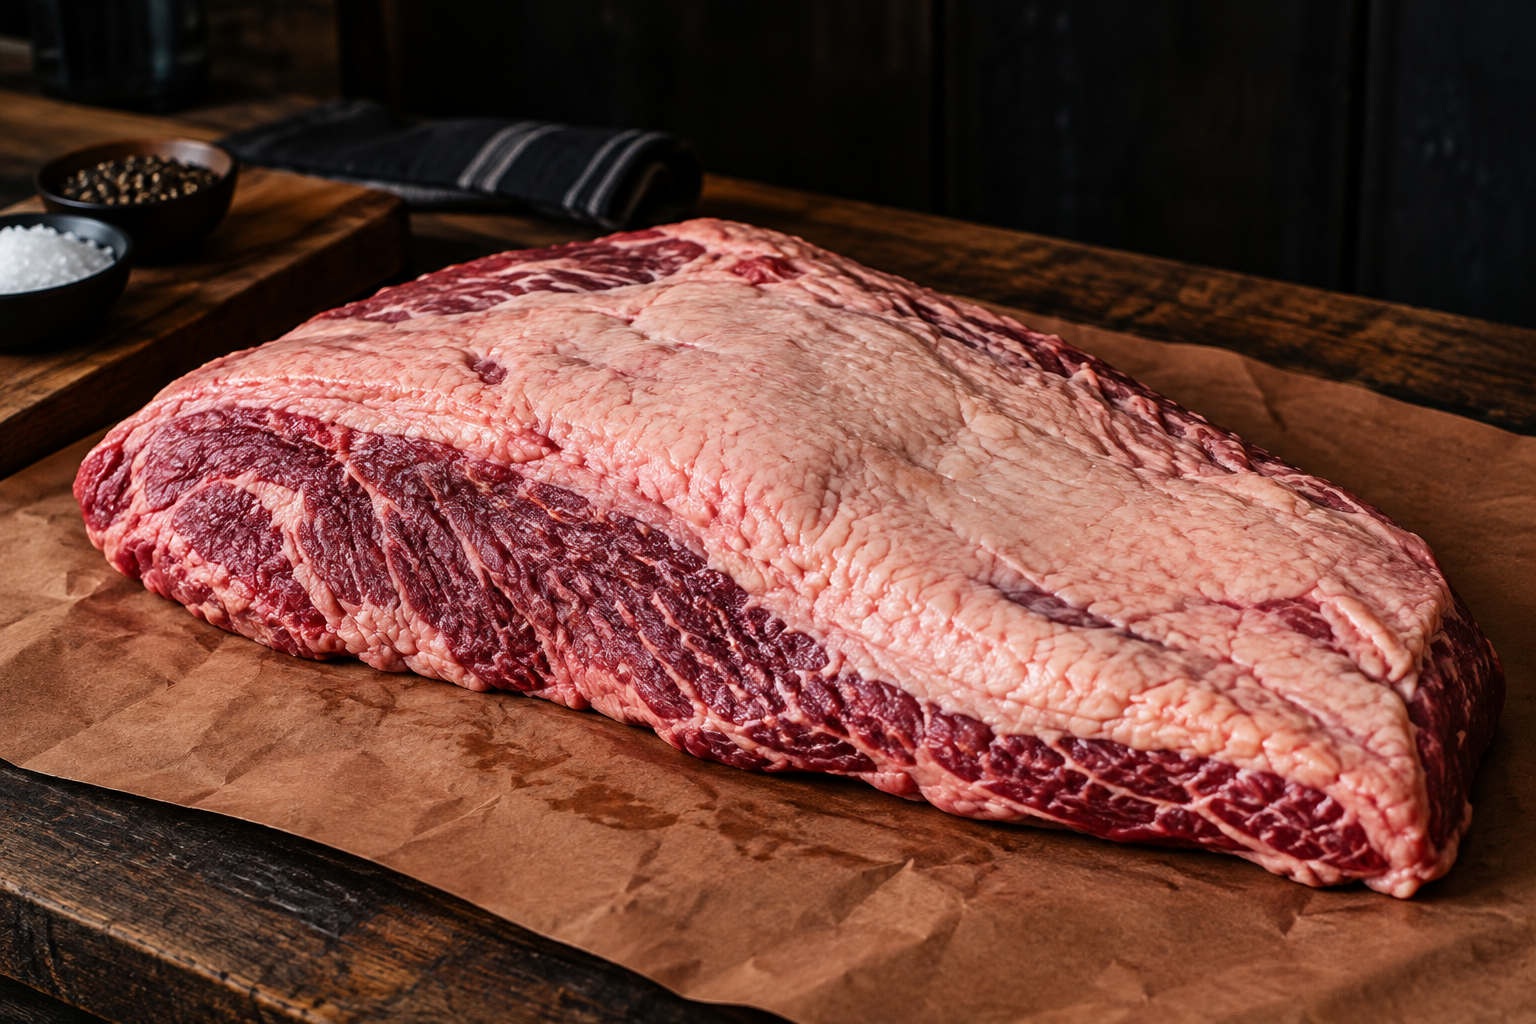
✓ LOOK FOR A WHOLE PACKER BRISKET
✓ CHOOSE GOOD MARBLING
✓ LOOK FOR AN EVEN, THICK FLAT
✓ CHECK FOR GOOD FLEXIBILITY
TRIMMING THE BRISKET
SHAPE IT FOR AN EVEN COOK
Trimming isn’t about removing every piece of fat. The goal is to create a clean, aerodynamic shape that cooks evenly and gives the bark a good surface to develop.
Remove any loose or thin pieces of meat around the edges that are likely to burn during the cook. Trim away hard, waxy fat that won’t render well, especially thick deposits around the point and deckle area.
On the fat-cap side, trim the fat to roughly ¼ inch thick. It doesn’t need to be perfectly uniform - just remove noticeably thick areas and smooth out any sharp or uneven edges.
Take your time and avoid over-trimming. You can always remove more, but you can’t put it back.
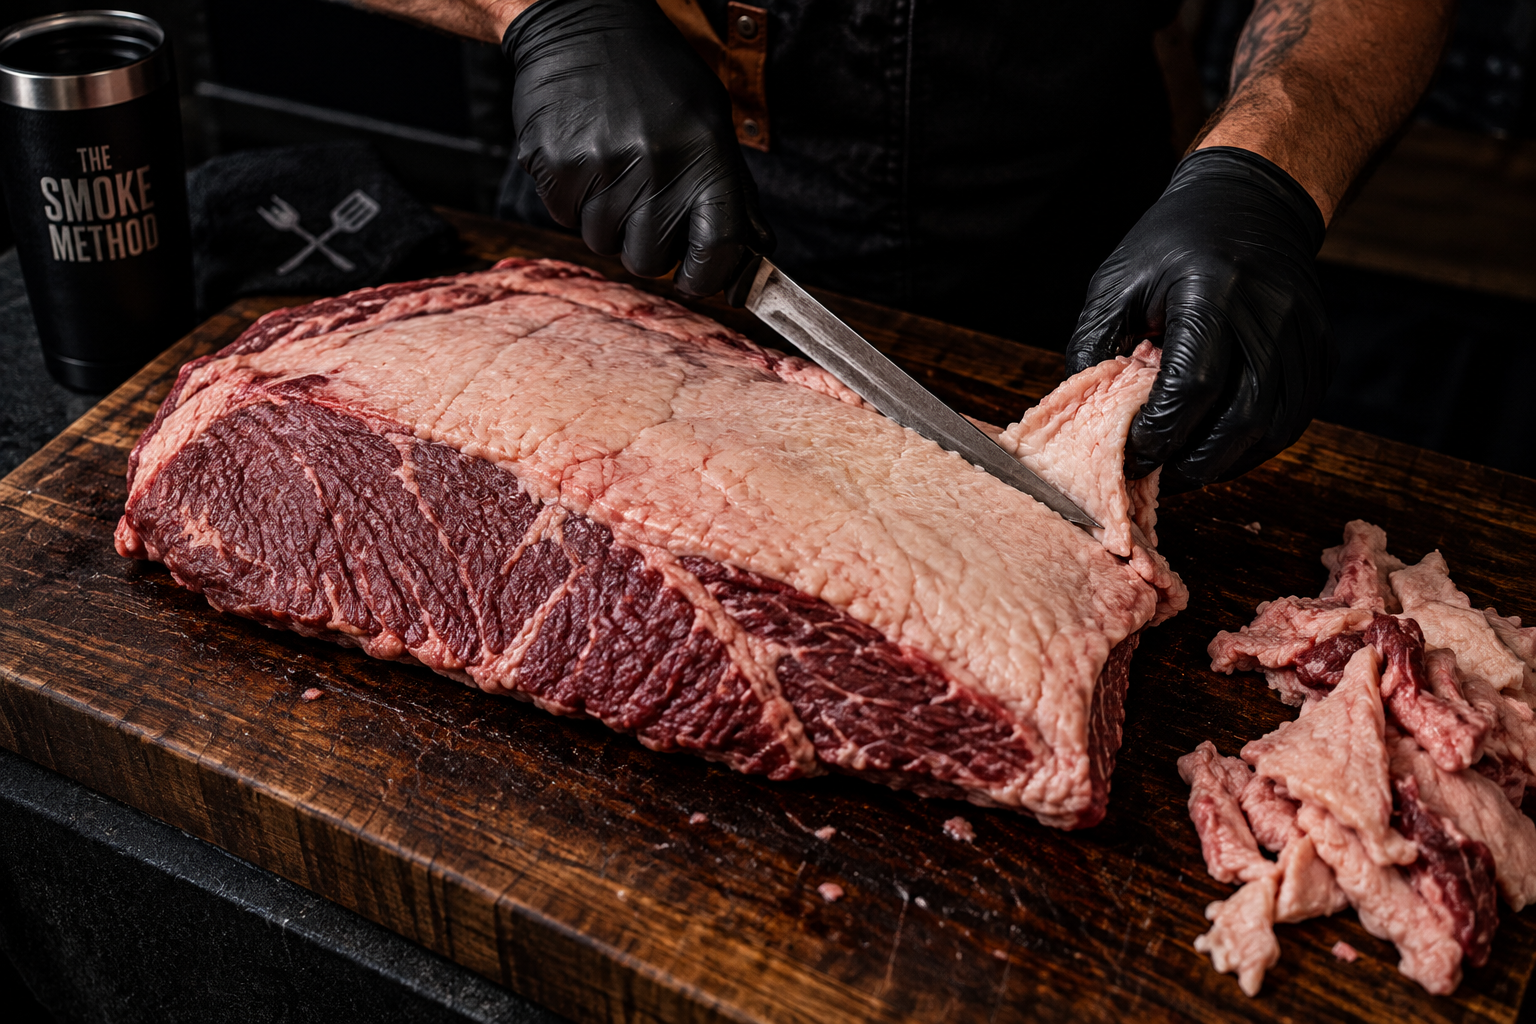
✓ REMOVE LOOSE & THIN EDGES
✓ TRIM AWAY HARD, WAXY FAT
✓ LEAVE ABOUT ¼" OF FAT CAP
✓ ROUND OFF SHARP CORNERS
✓ DON’T OVER-TRIM
Once the brisket is trimmed, season it evenly across the entire surface. Brisket can handle a generous amount of seasoning because of its size and long cooking time.
A simple blend of kosher salt and coarse black pepper is enough to build a great bark and let the beef remain the main flavor. You can add garlic of your favorite brisket rub if you want another layer of flavor.
Apply the seasoning evenly to the top, bottom, sides, and edges. A binder is optional - the natural moisture on the brisket is usually enough to help the seasoning stick.
BUILD A BOLD, BALANCED BARK
SEASON THE BRISKET
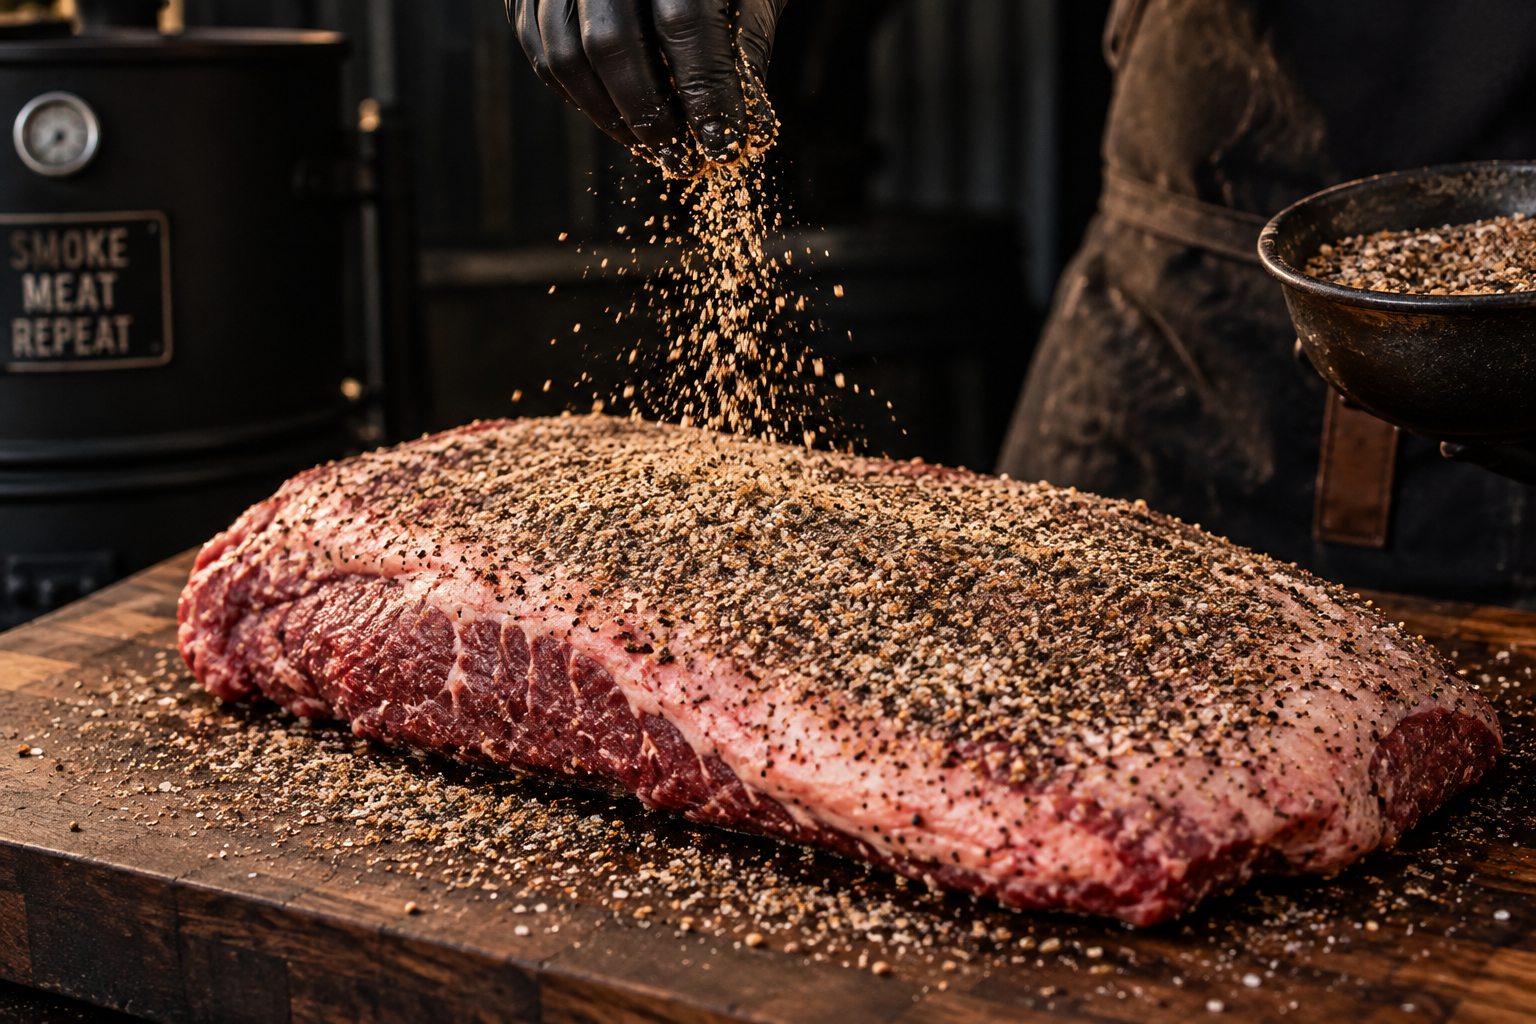
✓ SEASON ALL SIDES
✓ SALT & COARSE PEPPER WORK GREAT
✓ APPLY AN EVEN, GENEROUS COAT
✓ BINDER: OPTIONAL
✓ LET THE BEEF STAY THE STAR
SET THE FIRE
BUILD A CLEAN, STEADY FIRE
Bring your smoker to 225–275°F and let the temperature stabilize before putting the brisket on.
Focus on maintaining a clean-burning fire with thin, light smoke. Heavy white smoke can leave the brisket with a harsh or bitter flavor.
Oak and hickory are both great choices for brisket. Oak gives you a balanced smoke flavor, while hickory brings a stronger barbecue profile.
Once the smoker is running clean and steady, it’s time to put the brisket on.
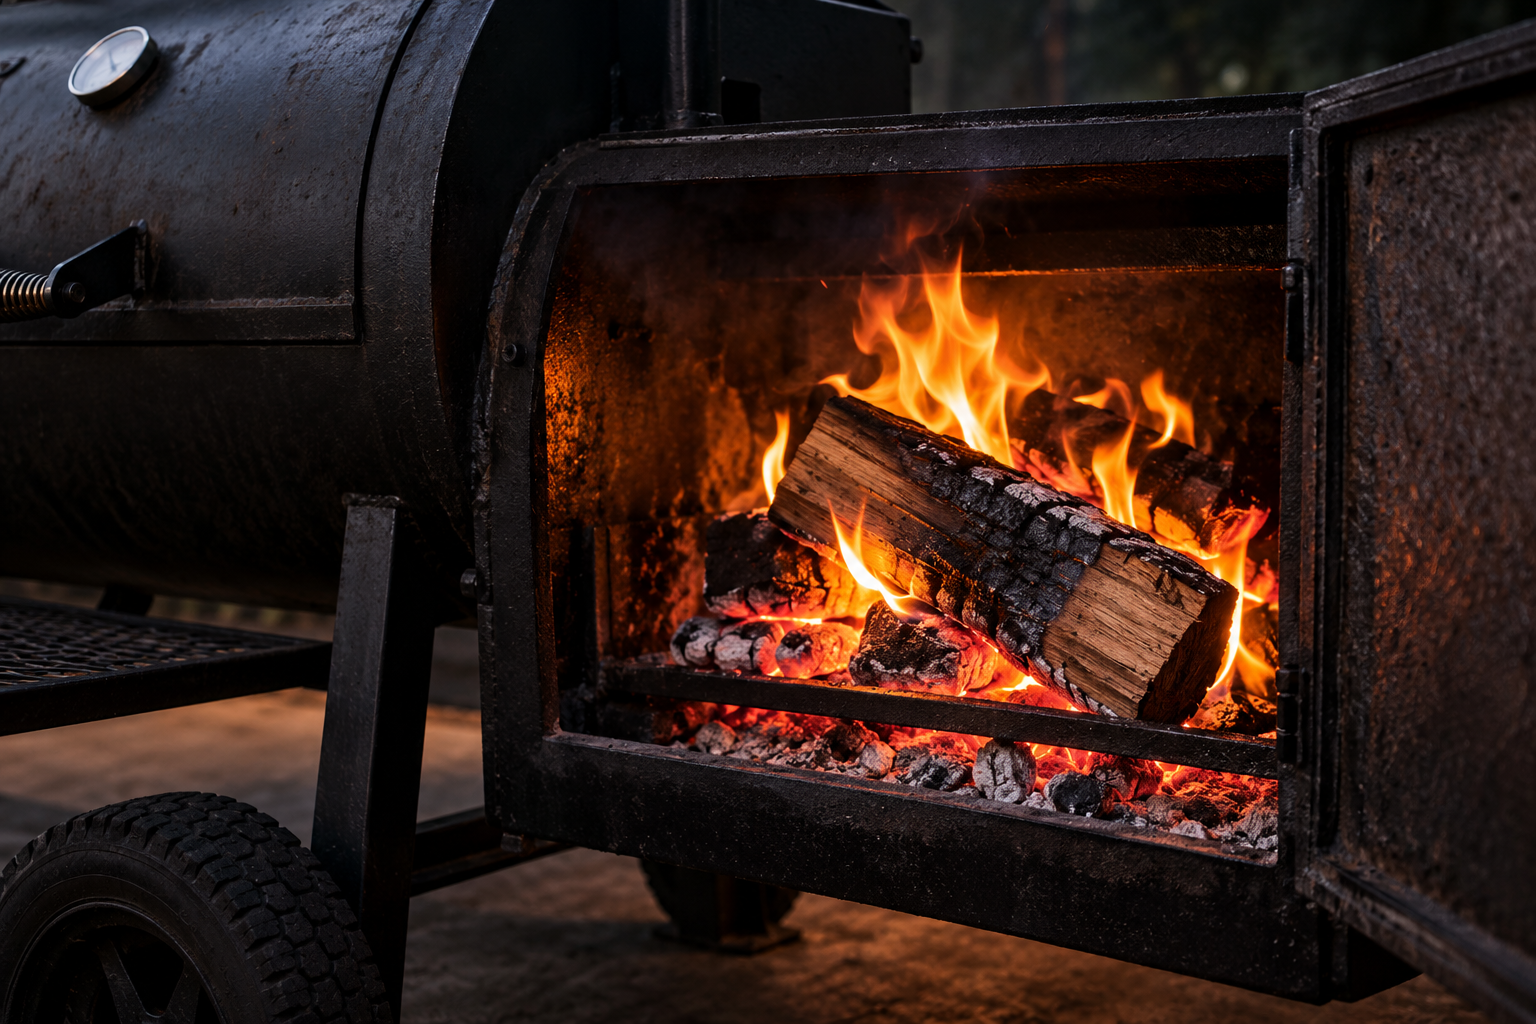
✓ PIT TEMP: 225–275°F
✓ SMOKE: THIN & CLEAN
✓ WOOD: OAK OR HICKORY
✓ STABILIZE THE FIRE BEFORE COOKING
ON THE SMOKER
LET THE BARK DEVELOP
Place the brisket on the smoker once the fire is stable and producing clean smoke. Position it so the thicker point faces the hotter side of the smoker, helping protect the thinner flat from more intense heat.
Maintain your pit around 225–275°F and let the brisket cook undisturbed. Avoid constantly opening the smoker - the more consistent the environment, the more evenly the brisket will cook.
As the cook progresses, the surface will darken and the bark will begin to form. Don’t rush to wrap just because the brisket reaches a certain internal temperature. Watch the bark first.
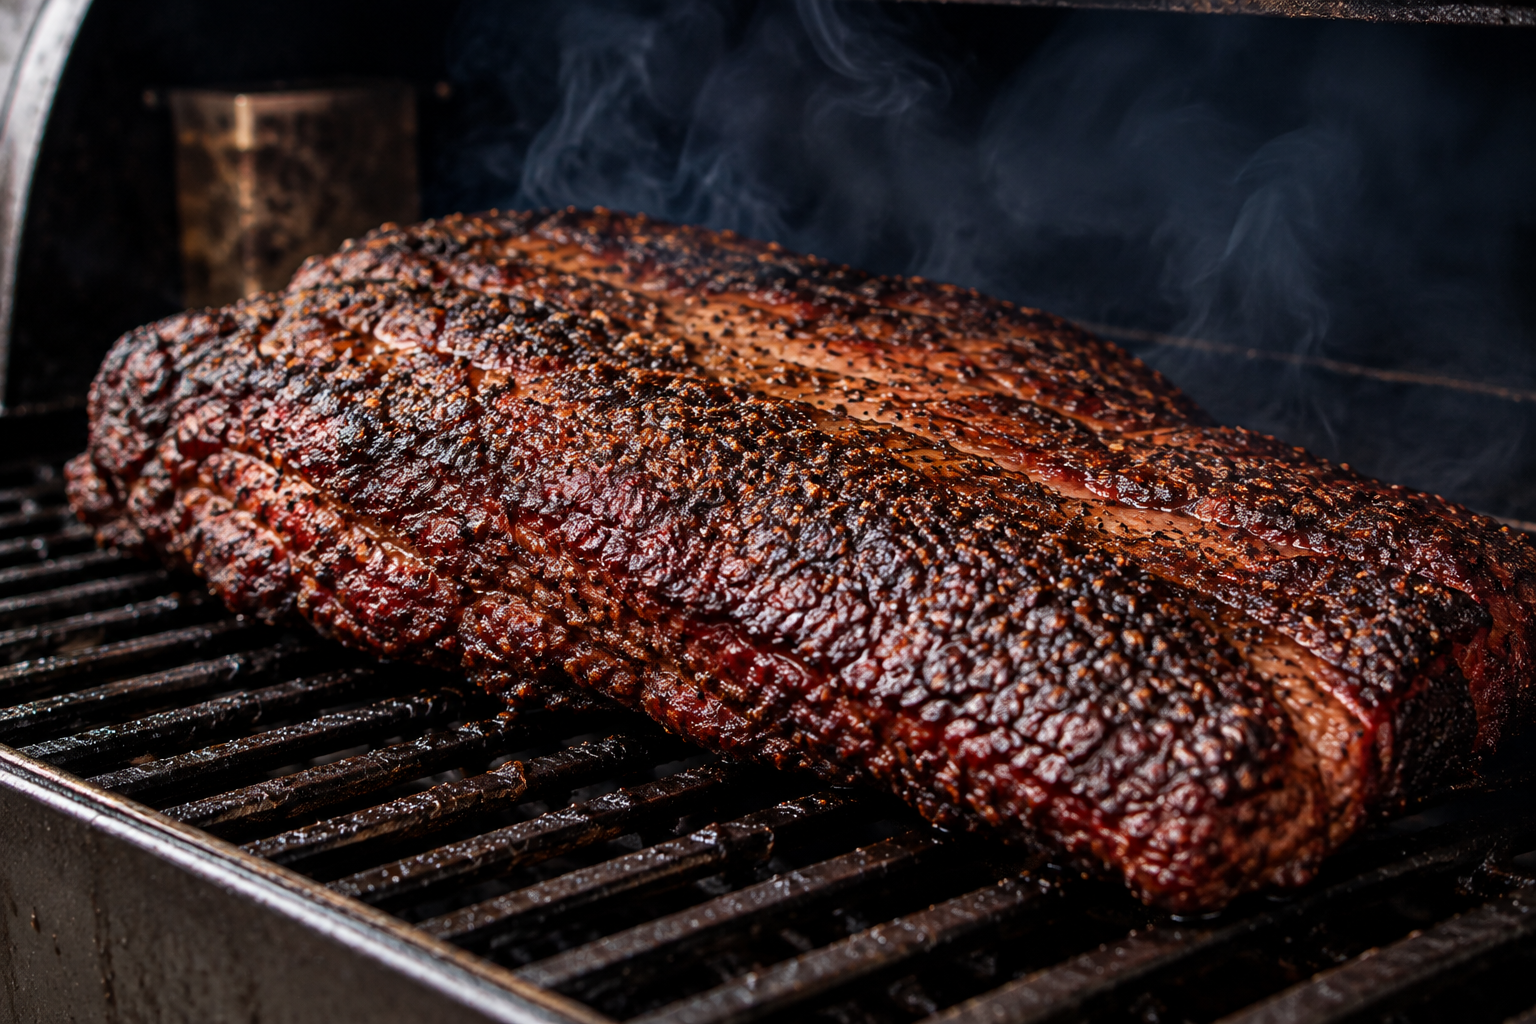
✓ POINT TOWARD THE HOTTER SIDE
✓ PIT TEMP: 225–275°F
✓ KEEP THE LID CLOSED
✓ LET THE BARK DEVELOP
✓ WATCH THE MEAT — NOT JUST THE CLOCK
WRAP THE BRISKET
Once the bark is dark, firm, and set, you can wrap the brisket. Wrapping helps reduce moisture loss and can speed up the cook as the brisket moves through the stall.
But don’t wrap just because the brisket reaches a certain temperature. Let the bark tell you when it’s ready. It should have a deep mahogany color, feel firm, and the seasoning shouldn’t wipe away when touched.
Butcher paper is a great choice because it helps retain moisture while allowing the bark to breathe. Wrap the brisket tightly, keeping the paper snug against the meat, then return it to the smoker to finish.
PROTECT THE BARK. FINISH THE COOK.
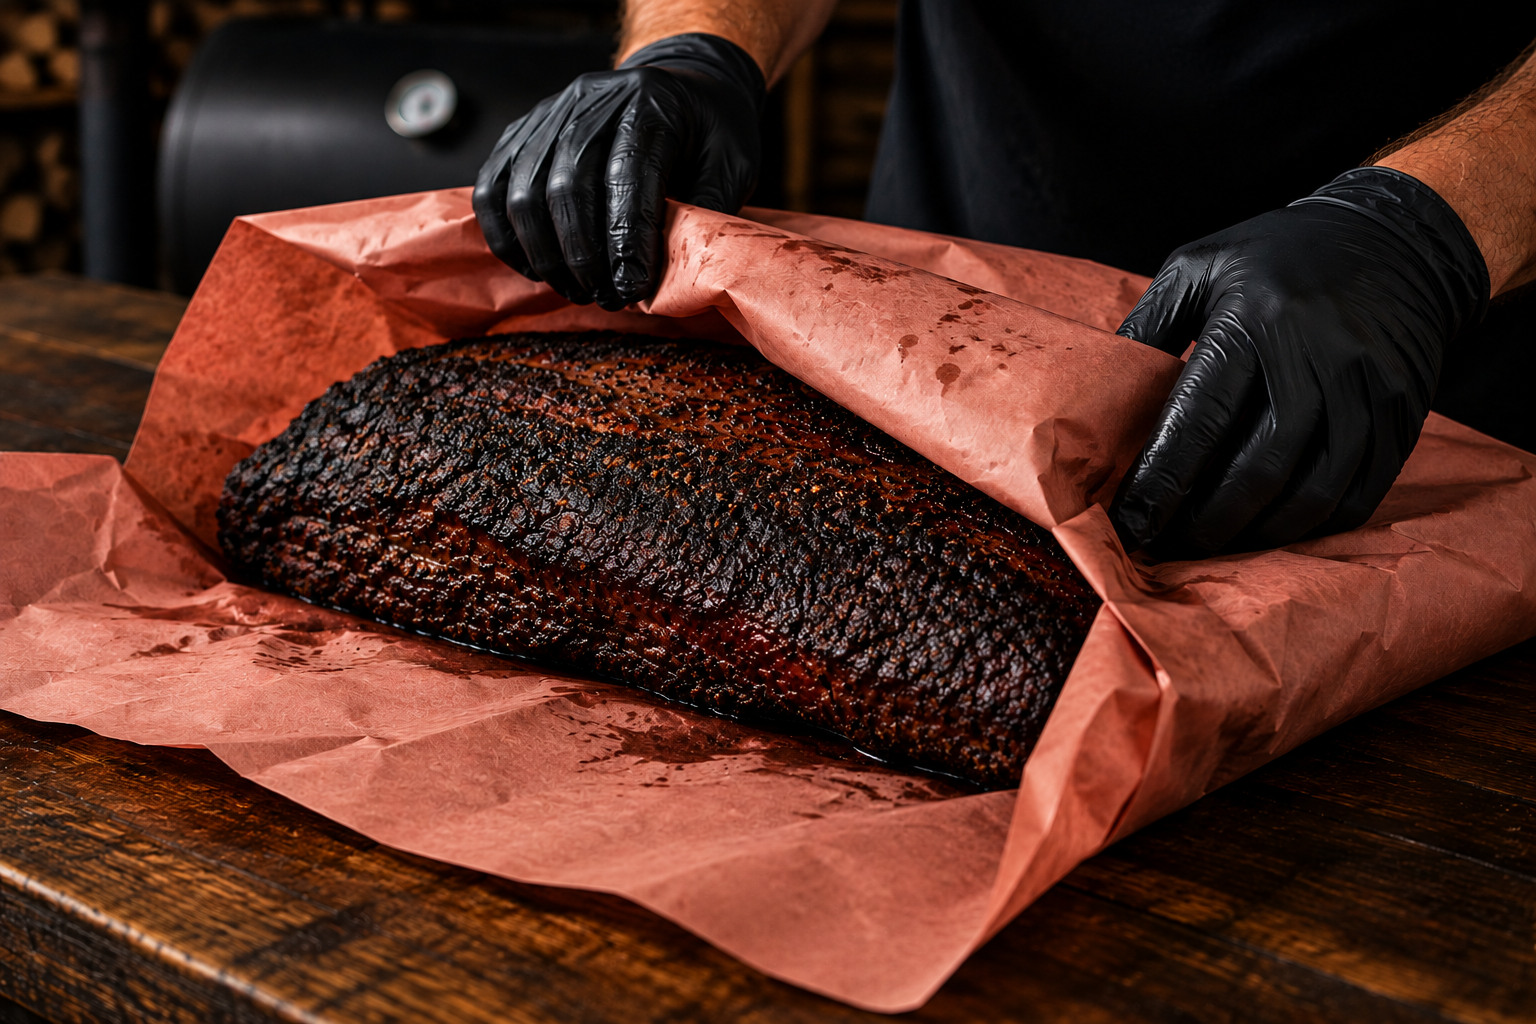
✓ WRAP ONCE THE BARK IS SET
✓ DON’T WRAP BY TEMPERATURE ALONE
✓ USE BUTCHER PAPER FOR BETTER BARK
✓ WRAP TIGHTLY
COOK UNTIL TENDER
LET FEEL MAKE THE FINAL CALL
After wrapping, return the brisket to the smoker and continue cooking until it begins to feel tender.
Internal temperature is a useful guide, and many briskets finish somewhere around 195–205°F, but temperature along doesn’t determine when it’s done.
Use a probe to check several areas, especially the thickest part of the flat. When the brisket is ready, the probe should slide into the meat with very little resistance - similar to softened butter.
If it still feels tight, keep cooking and check again later. Tenderness makes the final call.
✓ START CHECKING AROUND 195°F
✓ PROBE THE THICKEST PART OF THE FLAT
✓ LOOK FOR VERY LITTLE RESISTANCE
✓ TEMPERATURE IS A GUIDE — TENDERNESS IS THE TEST
RESTING THE BRISKET
GIVE IT TIME TO SETTLE
Once the brisket is probe tender, remove it from the smoker and give it time to rest. This is one of the most important parts of the entire cook.
Keep the brisket wrapped and let it rest for at least 1 hour before slicing. During the rest, the temperature begins to come down, the juices redistribute, and the texture of the brisket settles.
For a longer hold, place wrapped brisket in an insulated cooler or another warm holding setup. A properly cooked brisket can hold for several hours and still be served hot.
Don’t rush straight from the smoker to the cutting board. Give the brisket time.
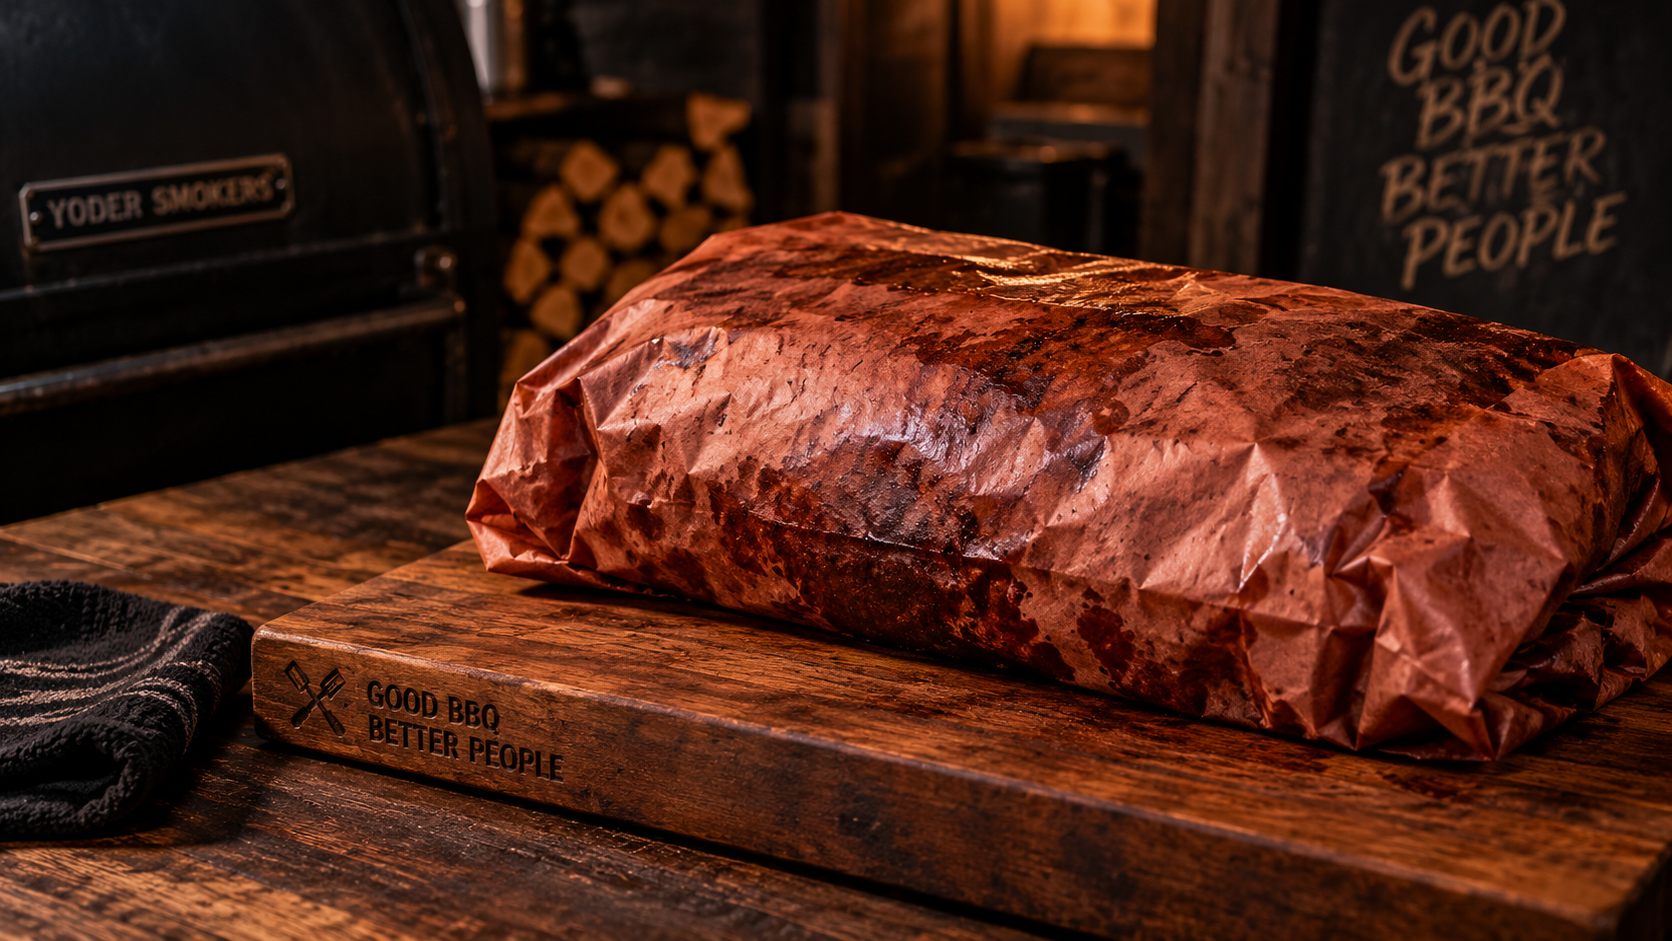
✓ REST AT LEAST 1 HOUR
✓ KEEP THE BRISKET WRAPPED
✓ A LONGER HOLD IS EVEN BETTER
✓ DON’T SLICE TOO EARLY
SLICE THE BRISKET
CUT AGAINST THE GRAIN
After the brisket has rested, unwrap it and save any juices that have collected in the paper.
Start with the flat and slice ¼ inch slices. As you move toward the point, remember that the grain changes direction. Rotate the brisket as needed so you continue slicing against the grain.
Use a long, sharp slicing knife and make smooth strokes instead of sawing through the meat. Proper slicing keeps each bite tender and helps the brisket hold together without falling apart.
Serve it while it’s warm and slice only what you need - the remaining brisket will stay juicier when left whole.
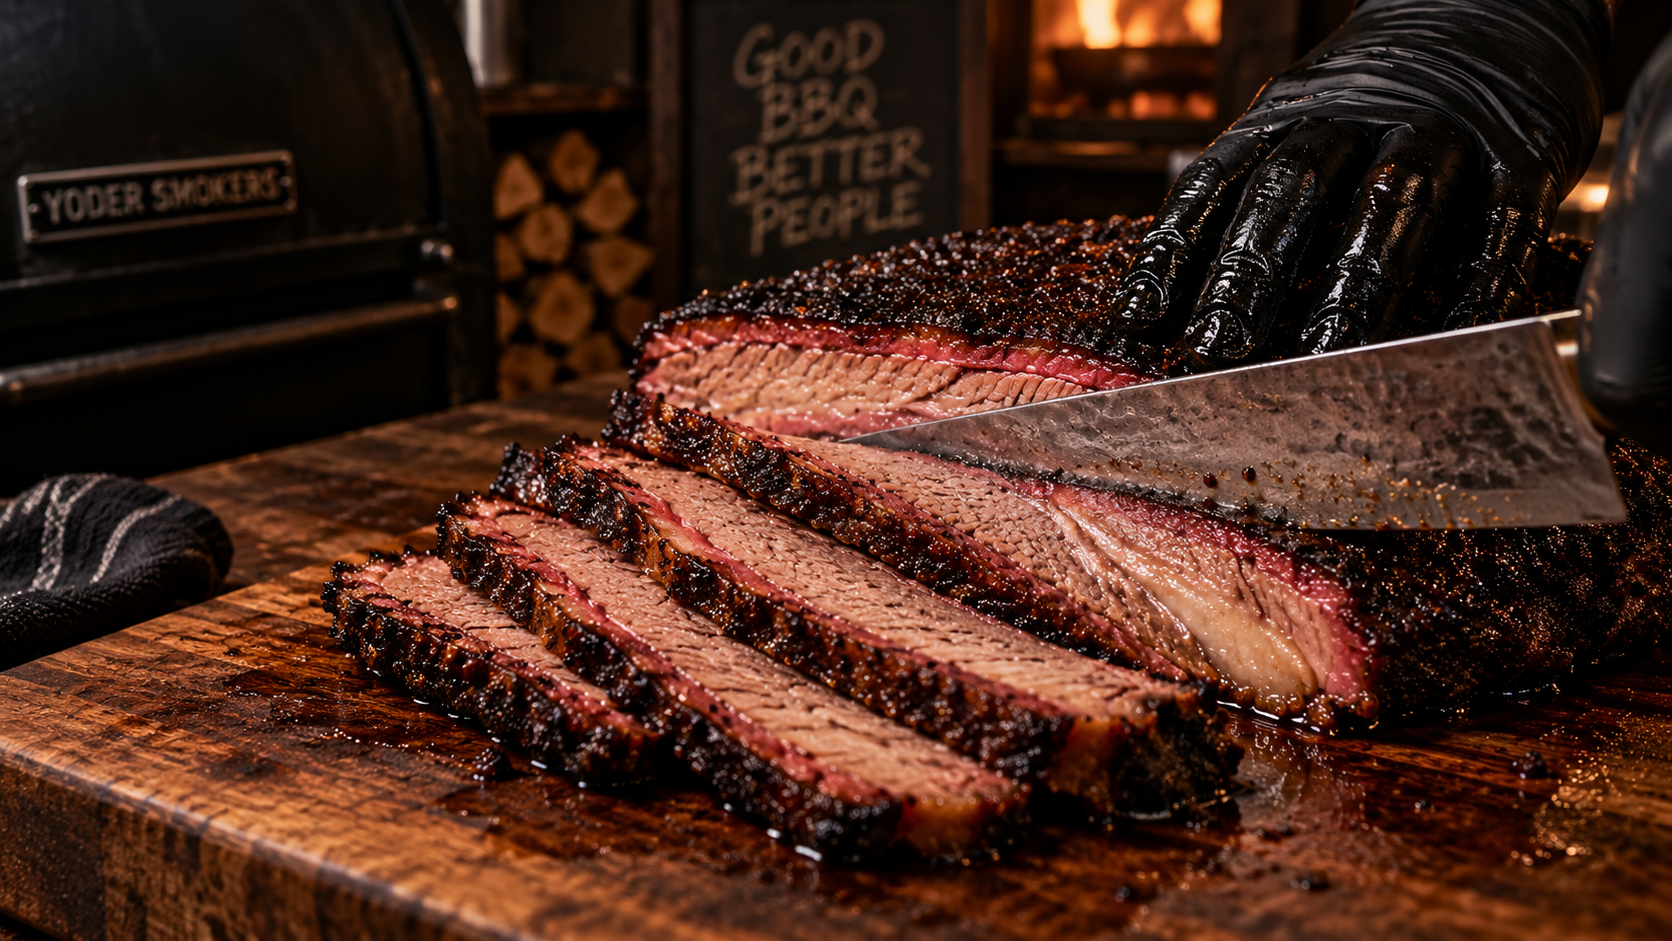
✓ ALWAYS SLICE AGAINST THE GRAIN
✓ FLAT: ABOUT ¼" SLICES
✓ WATCH FOR THE GRAIN TO CHANGE
✓ USE LONG, SMOOTH KNIFE STROKES
✓ SLICE AS YOU SERVE
THE SMOKE METHOD
MASTER THE METHOD
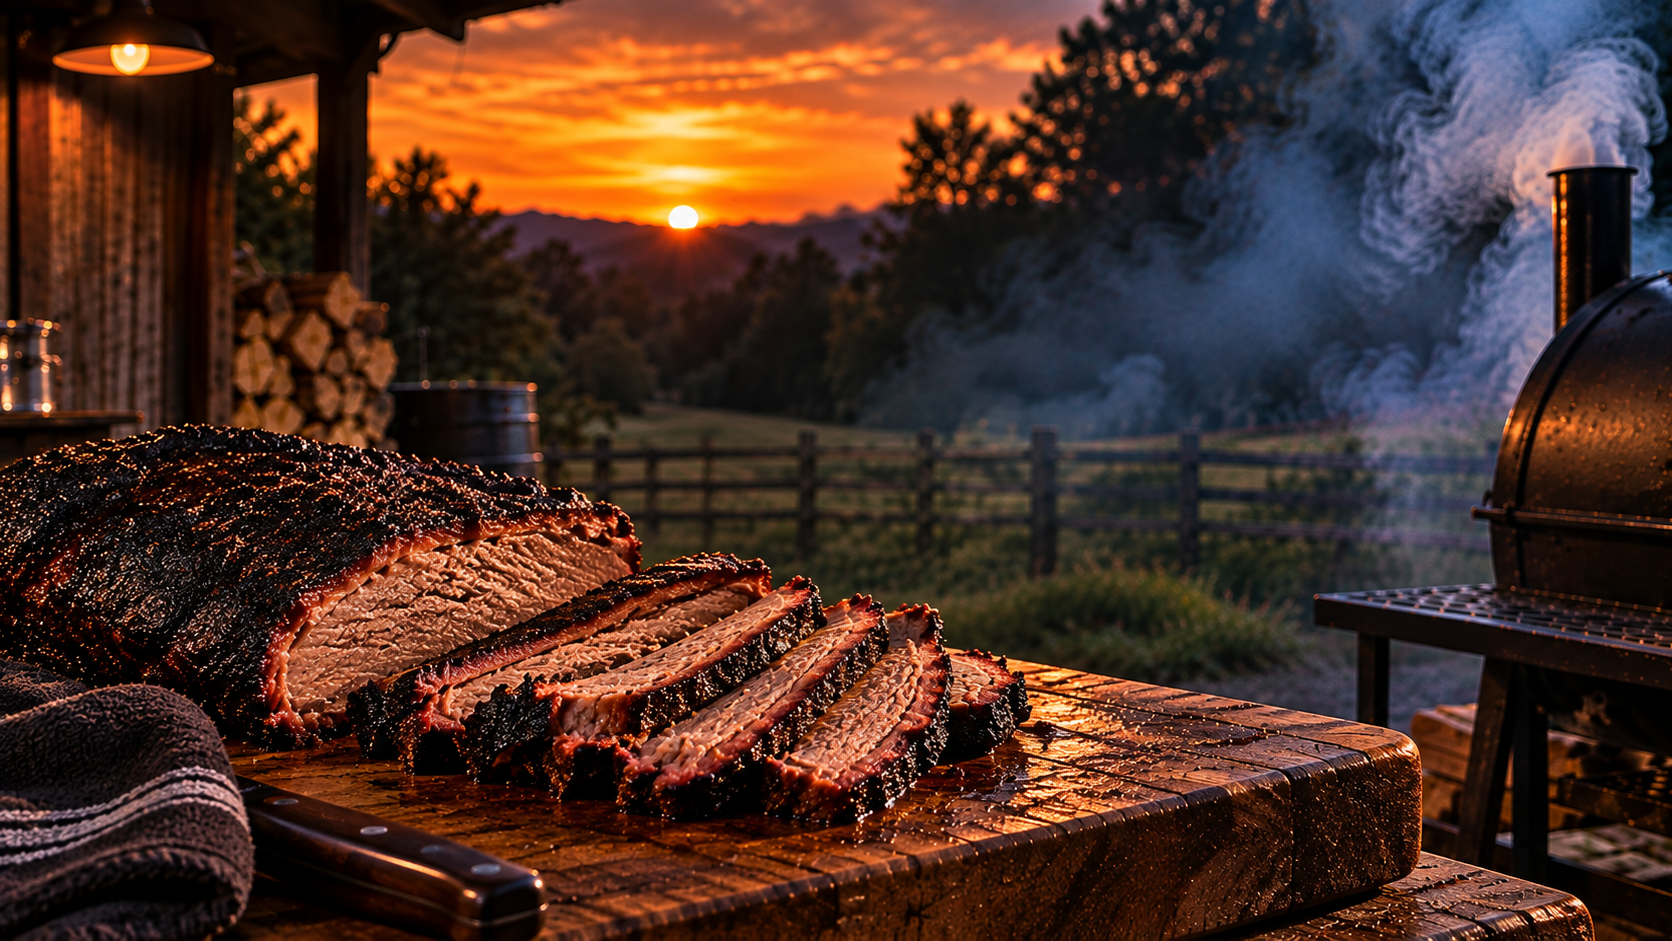
Great brisket isn’t about chasing a perfect number or following a right timeline. Learn to read the meat, manage your fire, and trust the process. The more you cook, the better you’ll understand what the brisket is telling you.