RIBS
MASTER THE PERFECT BITE
Learn how to smoke tender, flavorful ribs with great bark and the perfect bite - from choosing the right rack and trimming it properly to seasoning, controlling your fire, wrapping, and knowing exactly when they’re done.
Whether you’re cooking baby backs or spare ribs, this guide will walk you through the process step by step so you can produce juicy, smoky ribs without relying on complicated techniques or rigid timelines.
COOK TEMP: 225–275°F
WRAP: OPTIONAL - ONCE BARK IS SET
DONE: TENDER WITH A CLEAN BEND
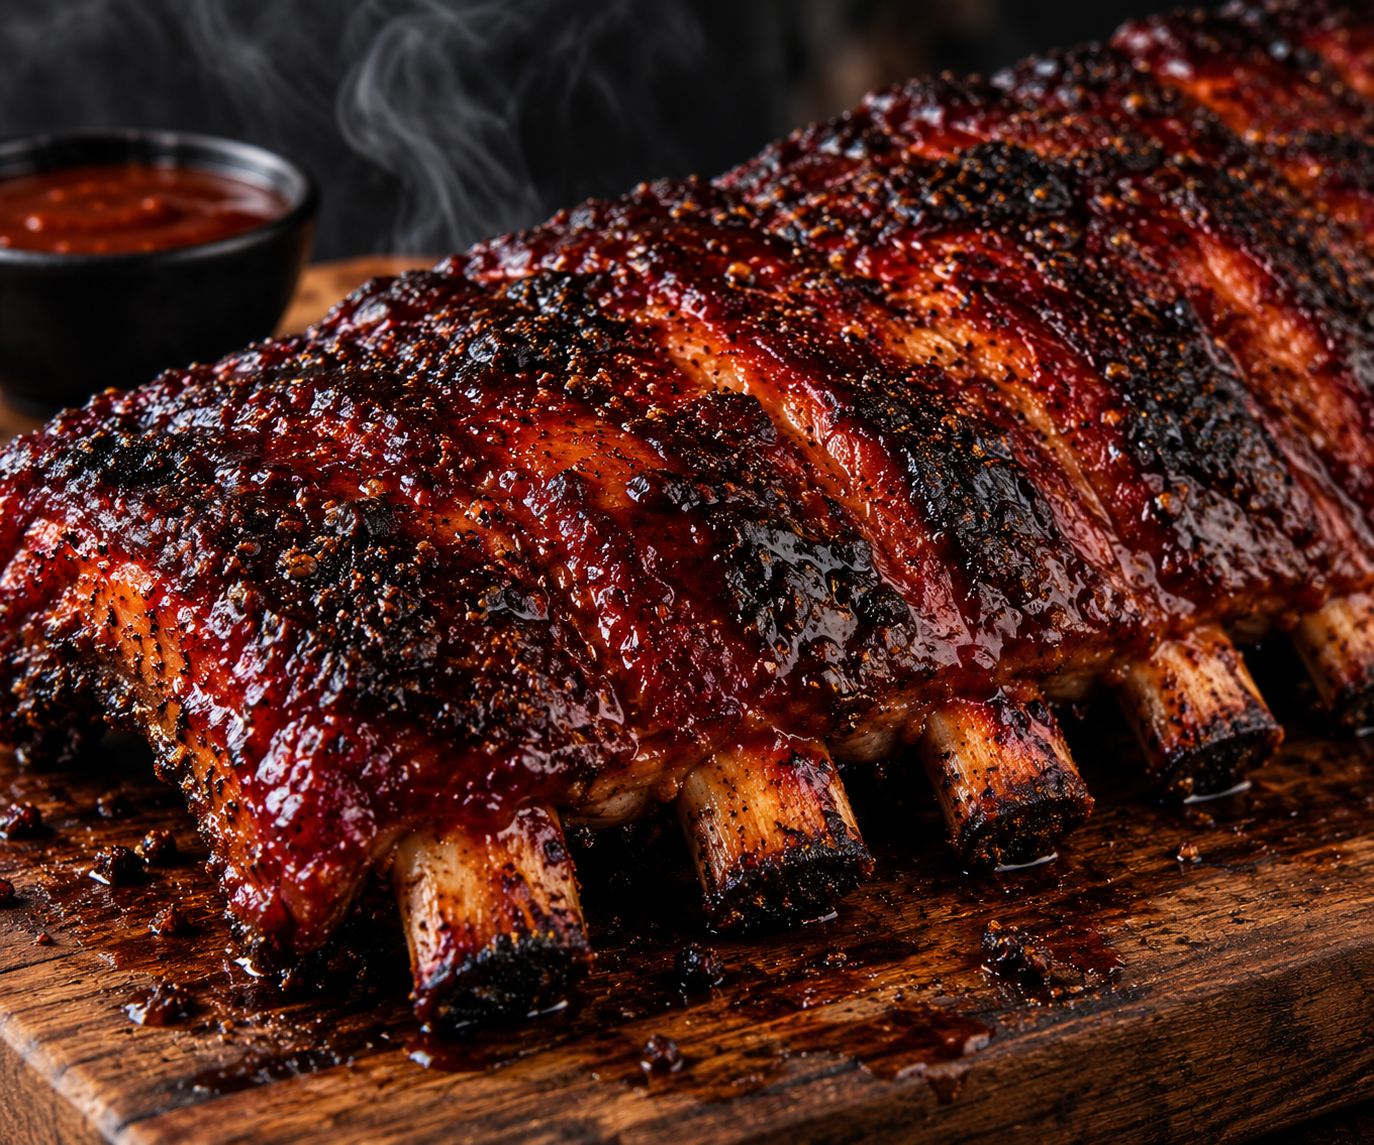
CHOOSING THE RIGHT RIBS
START WITH THE RIGHT RACK
Great ribs start with choosing a good rack. For barbecue, you’ll usually be deciding between baby back ribs and spare ribs. Both cook well on the smoker, but they have different sizes, fat content, and textures.
Baby back ribs are smaller, leaner, and naturally curved. They generally cook a little bit faster and give you a slightly leaner bite.
Spare ribs are larger, flatter, and contain more fat and connective tissue. They have a richer pork flavor and are an excellent choice for low-and-slow barbecue.
Whichever cut you choose, look for a rack with good meat coverage and consistent thickness. Avoid racks with large areas where the bones are showing through the meat.
✓ BABY BACKS: SMALLER & LEANER
✓ SPARES: LARGER & RICHER
✓ LOOK FOR GOOD MEAT COVERAGE
✓ CHOOSE AN EVEN, CONSISTENT RACK
TRIM THE RIBS
CLEAN UP THE RACK
Before seasoning, take a few minutes to clean up the rack. Trim away any loose pieces of met and excess fat that could burn or cook unevenly.
Flip the ribs over and check the bone side for the thin membrane covering the back of the rack. If it’s still attached, slide a butter knife underneath one corner to loosen it, grab it with a paper towel, and pull it away from the bones.
Don’t over-trim the ribs. The goal is simply to create a clean, even rack that will cook consistently and give the seasoning a good surface to stick to.
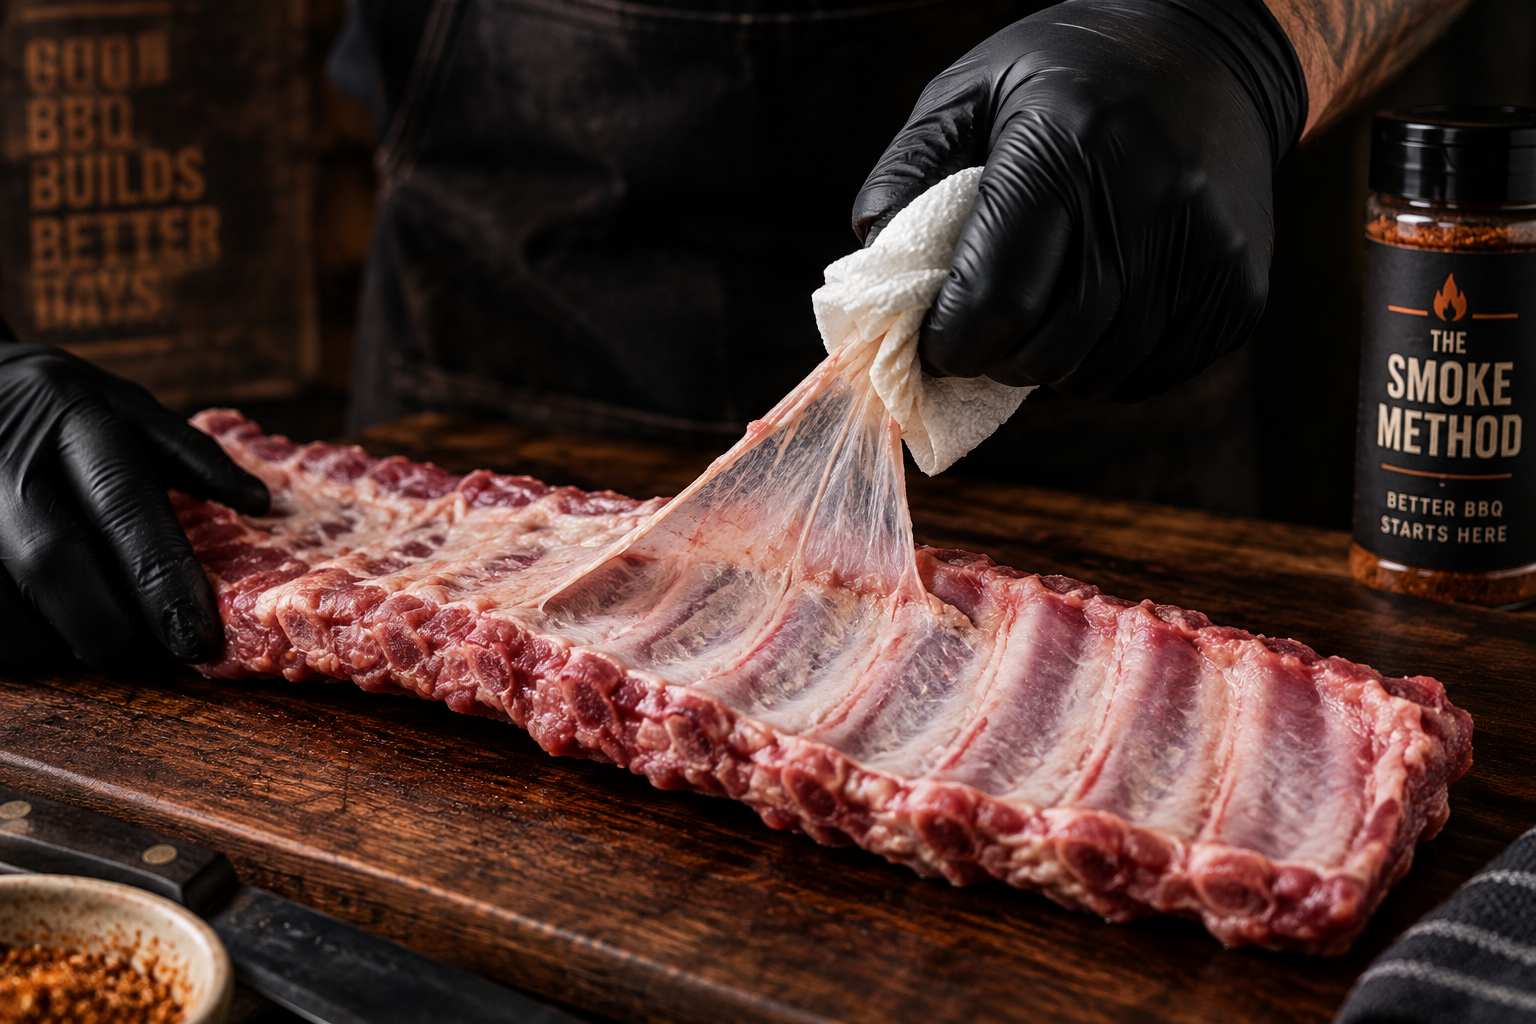
✓ REMOVE LOOSE PIECES
✓ TRIM EXCESS FAT
✓ CHECK FOR THE MEMBRANE
✓ USE A PAPER TOWEL FOR GRIP
✓ DON’T OVER-TRIM
SEASON THE RIBS
BUILD A FLAVORFUL BARK
Once the ribs are trimmed, season both sides of the rack evenly. Ribs have less meat than larger cuts like brisket or pork butt, so you want a good coating without completely burying the meat.
A binder is optional. If you use one, apply a thin layer of mustard or hot sauce before adding your seasoning.
Work the rub across the meat side, bone side, and edges. Once seasoned, let the ribs sit briefly until the surface begins to look slightly wet and the seasoning has adhered to the meat.
They don’t need to sit for hours. Once the rub has set, they’re ready for the smoke.
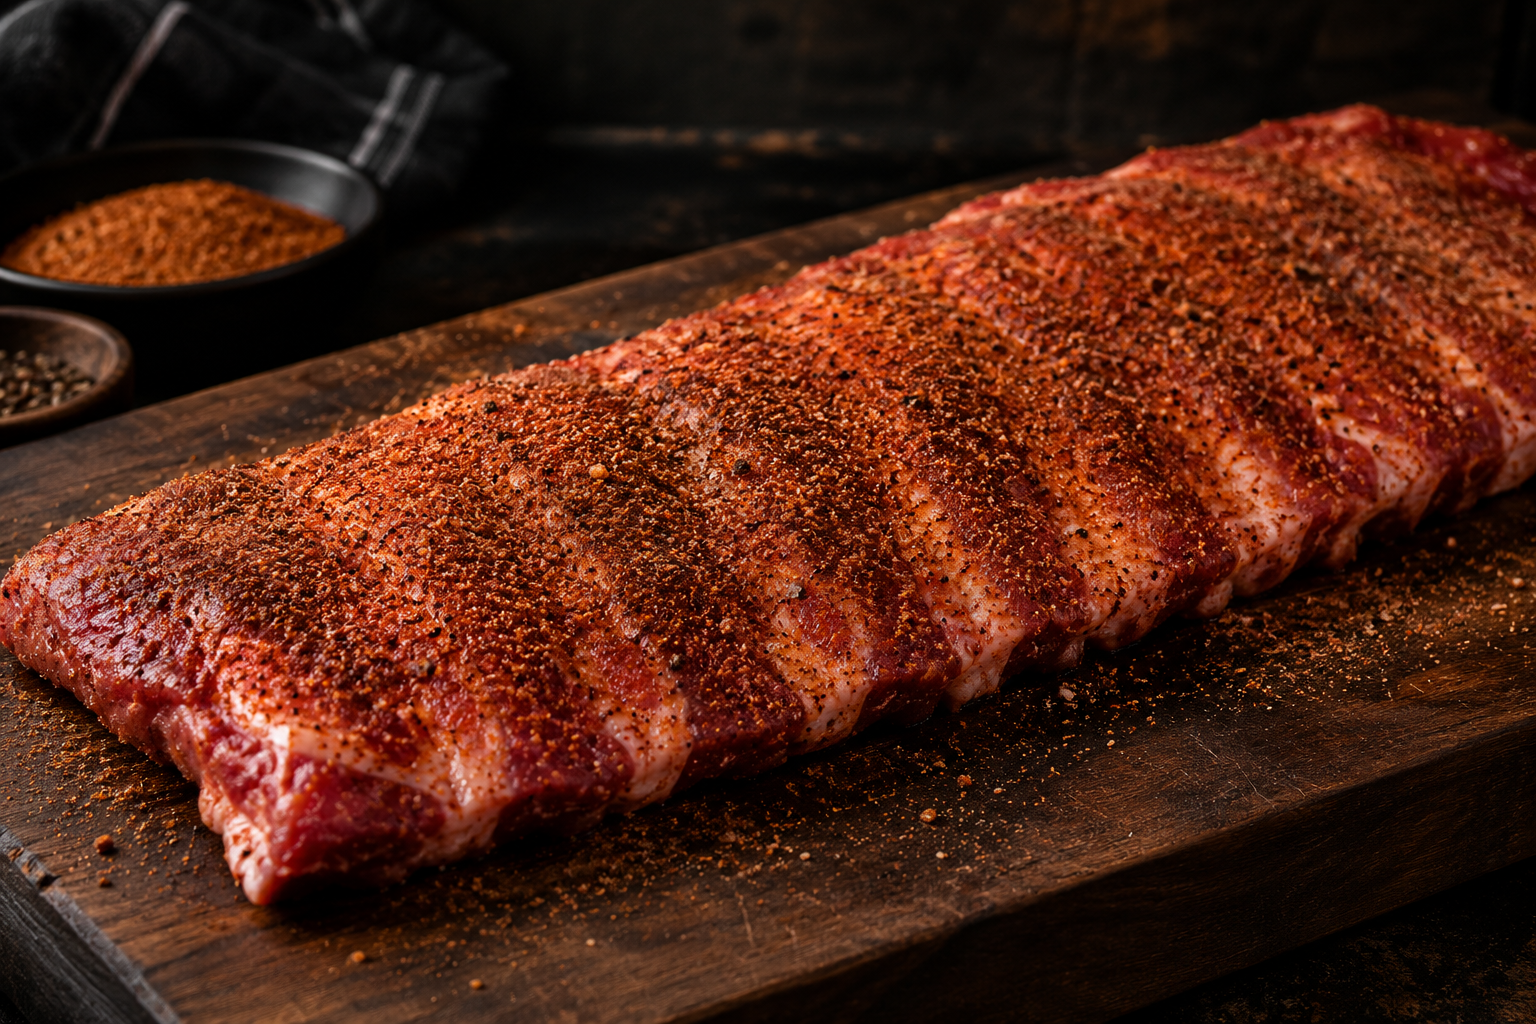
✓ SEASON BOTH SIDES
✓ APPLY AN EVEN COATING
✓ BINDER: OPTIONAL
✓ DON’T OVER-SEASON
✓ LET THE RUB SET BEFORE SMOKING
SET THE FIRE
KEEP THE HEAT STEADY
Bring your smoker to 225–275°F and let the temperature stabilize before putting the ribs on.
Focus on a clean-burning fire with thin, light smoke. Ribs have a relatively large exposed surface area, so they can pick up smoke flavor quickly. Heavy white smoke can overpower the meat and leave the bark tasting bitter.
Oak, hickory, apple, and cherry all work well with ribs. Oak gives you a balanced smoke flavor, hickory is stronger, while apple and cherry provide a milder smoke profile.
Once the smoker is running clean and steady, the ribs are ready to go on.
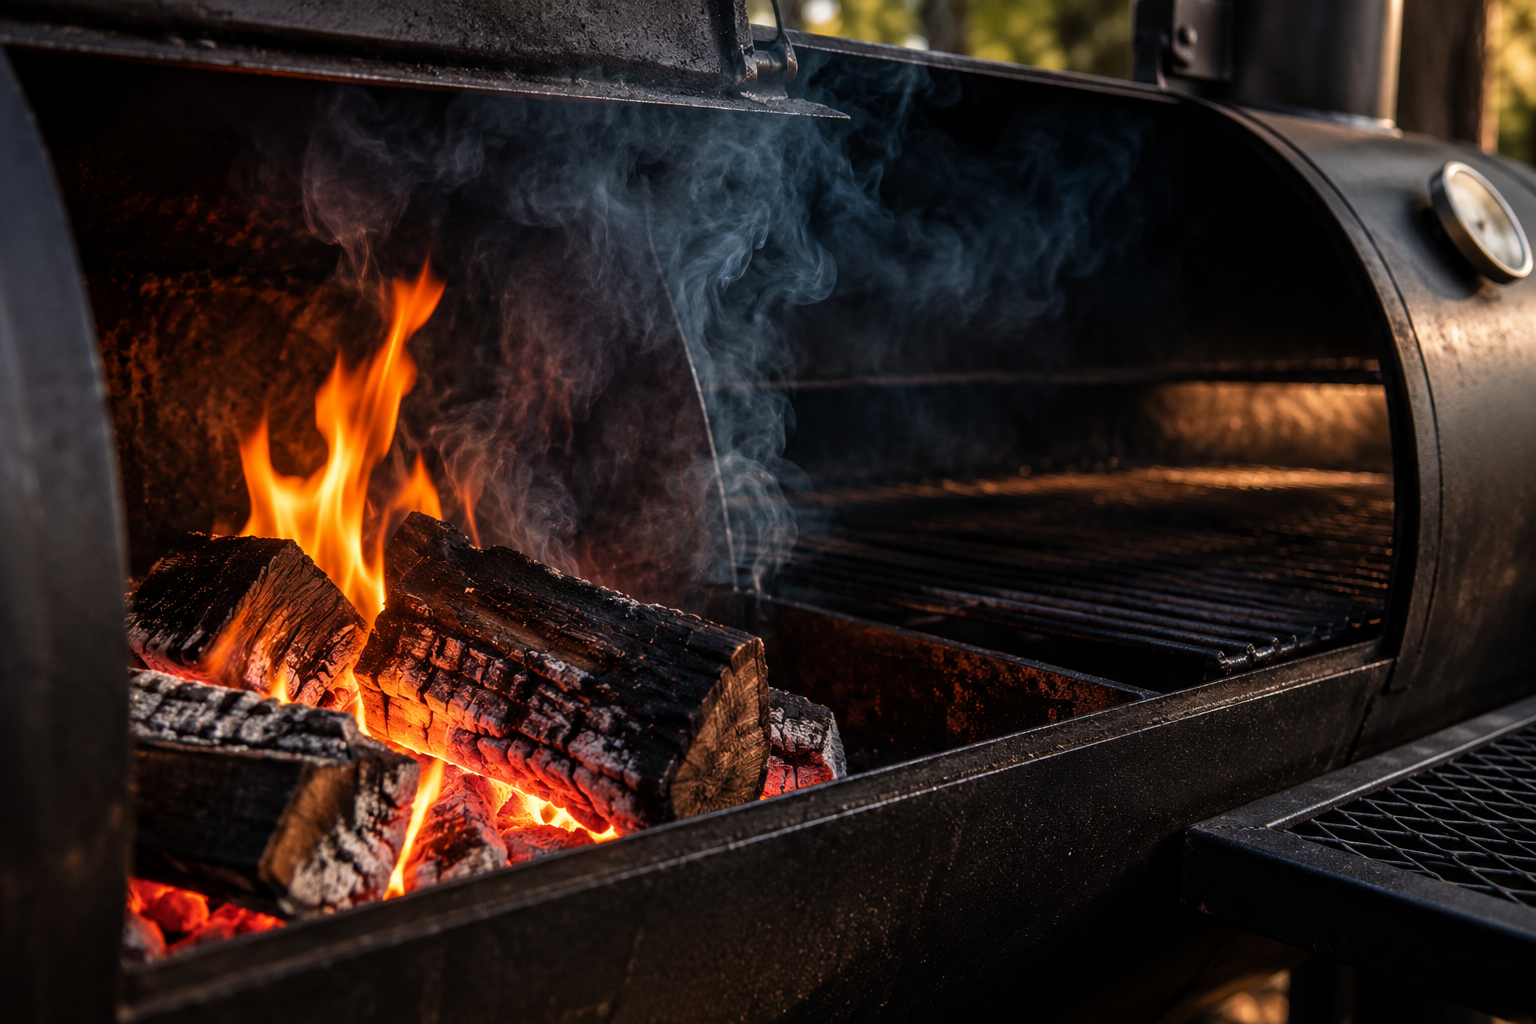
✓ PIT TEMP: 225–275°F
✓ SMOKE: THIN & CLEAN
✓ AVOID HEAVY WHITE SMOKE
✓ WOOD: OAK, HICKORY, APPLE OR CHERRY
ON THE SMOKER
LET THE BARK DEVELOP
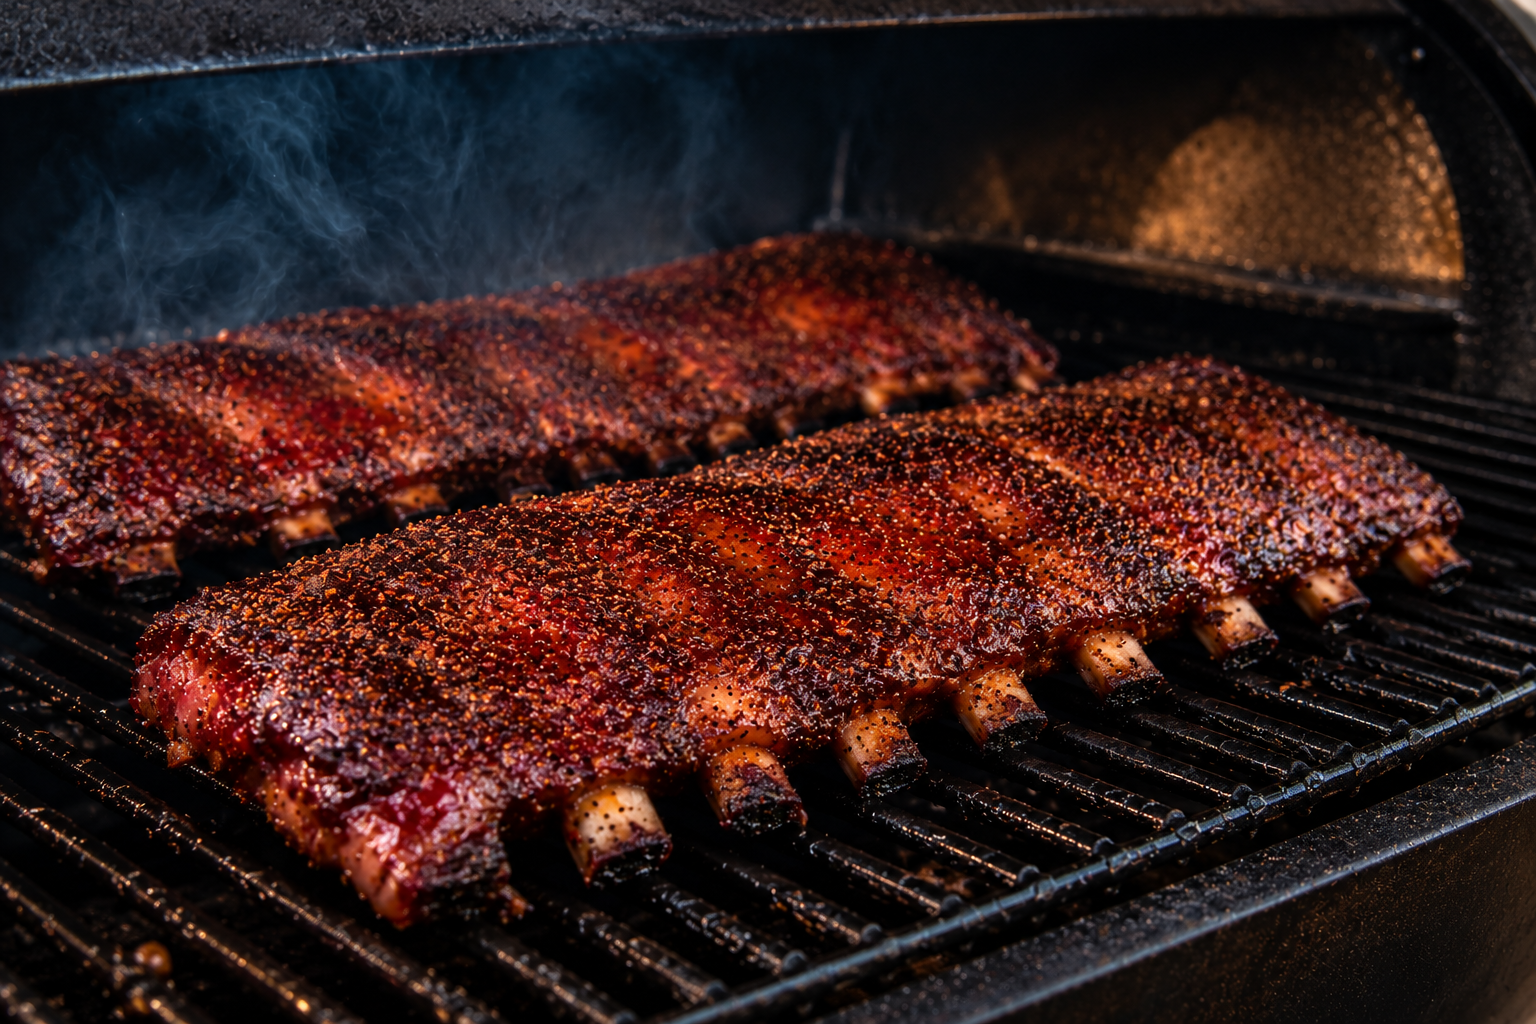
Place the ribs on the smoker once the fire is stable and producing clean smoke. Arrange the rack meat-side up and leave enough space around it for heat and smoke to move freely.
Maintain your pit around 225–275°F and let the ribs cook undisturbed while the bark begins to develop. Avoid constantly opening the smoker - every time you lift the lid, you disrupt the cooking environment.
As the ribs cook, the surface will gradually darken and the seasoning will set into the meat. Don’t rush to wrap based on time alone. Watch the color and bark instead.
✓ MEAT-SIDE UP
✓ PIT TEMP: 225–275°F
✓ KEEP THE LID CLOSED
✓ LET THE BARK DEVELOP
✓ WATCH THE RIBS — NOT JUST THE CLOCK
WRAP THE RIBS
WRAP ONCE THE BARK IS SET
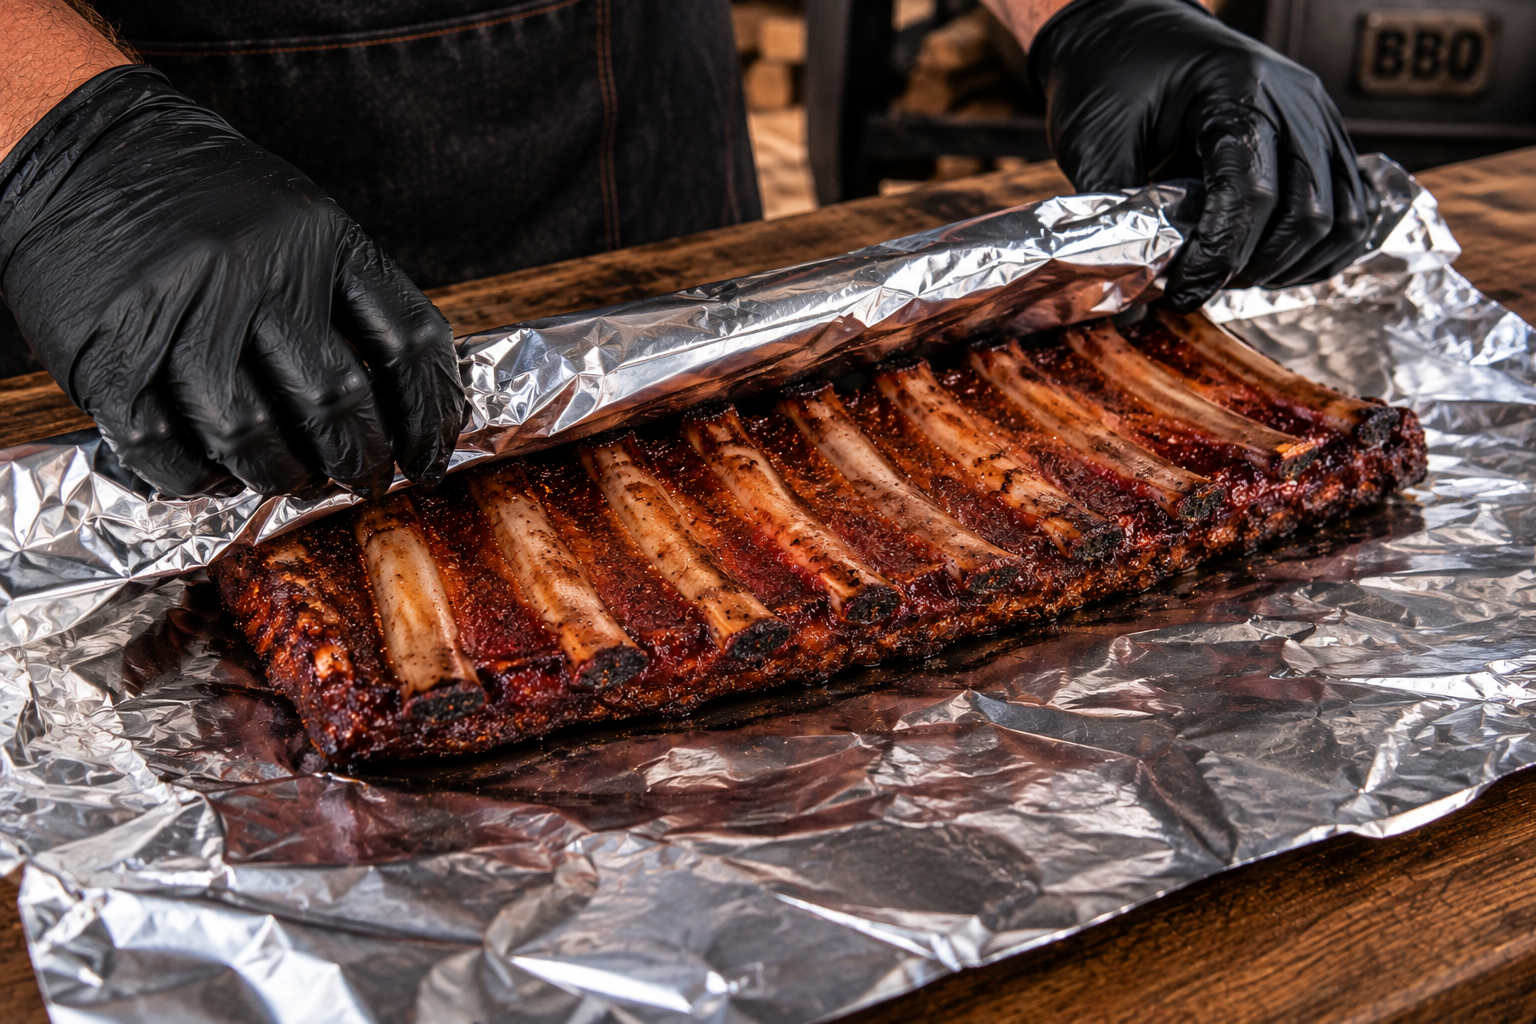
Wrapping ribs is optional, but it can help tenderize the meat, retain moisture, and give you more control over the final texture.
Before wrapping, make sure the bark is set. The ribs should have a deep mahogany color, the seasoning should be firmly attached, and the surface shouldn’t wipe away when lightly touched.
If you choose to wrap, place the ribs tightly in heavy-duty aluminum foil. You can add a small amount of butter, honey, brown sugar, or another flavoring if you want a sweeter, richer finish - but it isn’t required.
Return the wrapped ribs to the smoker and continue cooking until they begin to become tender.
✓ WRAP: OPTIONAL
✓ WAIT UNTIL THE BARK IS SET
✓ FOIL WORKS GREAT FOR RIBS
✓ WRAP TIGHTLY
✓ DON’T WRAP BY TIME ALONE
KNOW WHEN THEY’RE DONE
Ribs are done when the meat has become tender while still holding together with a clean bite. Instead of relying on a specific internal temperature, pay attention to how the rack feels and moves.
Pick up the rack near the center with tongs and gently lift it. When the ribs are ready, the rack should bend easily and the surface should begin to crack slightly.
You should also see some bone pullback around the ends of the ribs. A probe or toothpick inserted between the bones should slide into the meat with very little resistance.
The goal isn’t ribs that completely fall apart. Properly cooked ribs should be tender enough to bite cleanly while the remaining meat stay attached to the bone.
LOOK FOR TENDERNESS - NOT A NUMBER
✓ LOOK FOR A CLEAN BEND
✓ CHECK FOR BONE PULLBACK
✓ PROBE BETWEEN THE BONES
✓ LOOK FOR VERY LITTLE RESISTANCE
✓ TENDER — NOT FALLING APART
REST THE RIBS
LET THE RACK SETTLE
Once the ribs are tender, remove them from the smoker and give them a short rest before slicing.
Let the rack rest for about 10-15 minutes. This gives the meat time to settle and makes the ribs easier to slice cleanly without immediately losing moisture.
If the ribs were wrapped during the cook, open the foil for the rest rather than leaving them tightly sealed. Trapped steam can continue softening the bark.
Don’t let them sit too long - ribs are best served while they’re still hot.
✓ REST: 10–15 MINUTES
✓ OPEN THE FOIL
✓ LET THE BARK BREATHE
✓ DON’T SLICE IMMEDIATELY
✓ SERVE WHILE HOT
SLICE & SERVE
CUT BETWEEN THE BONES
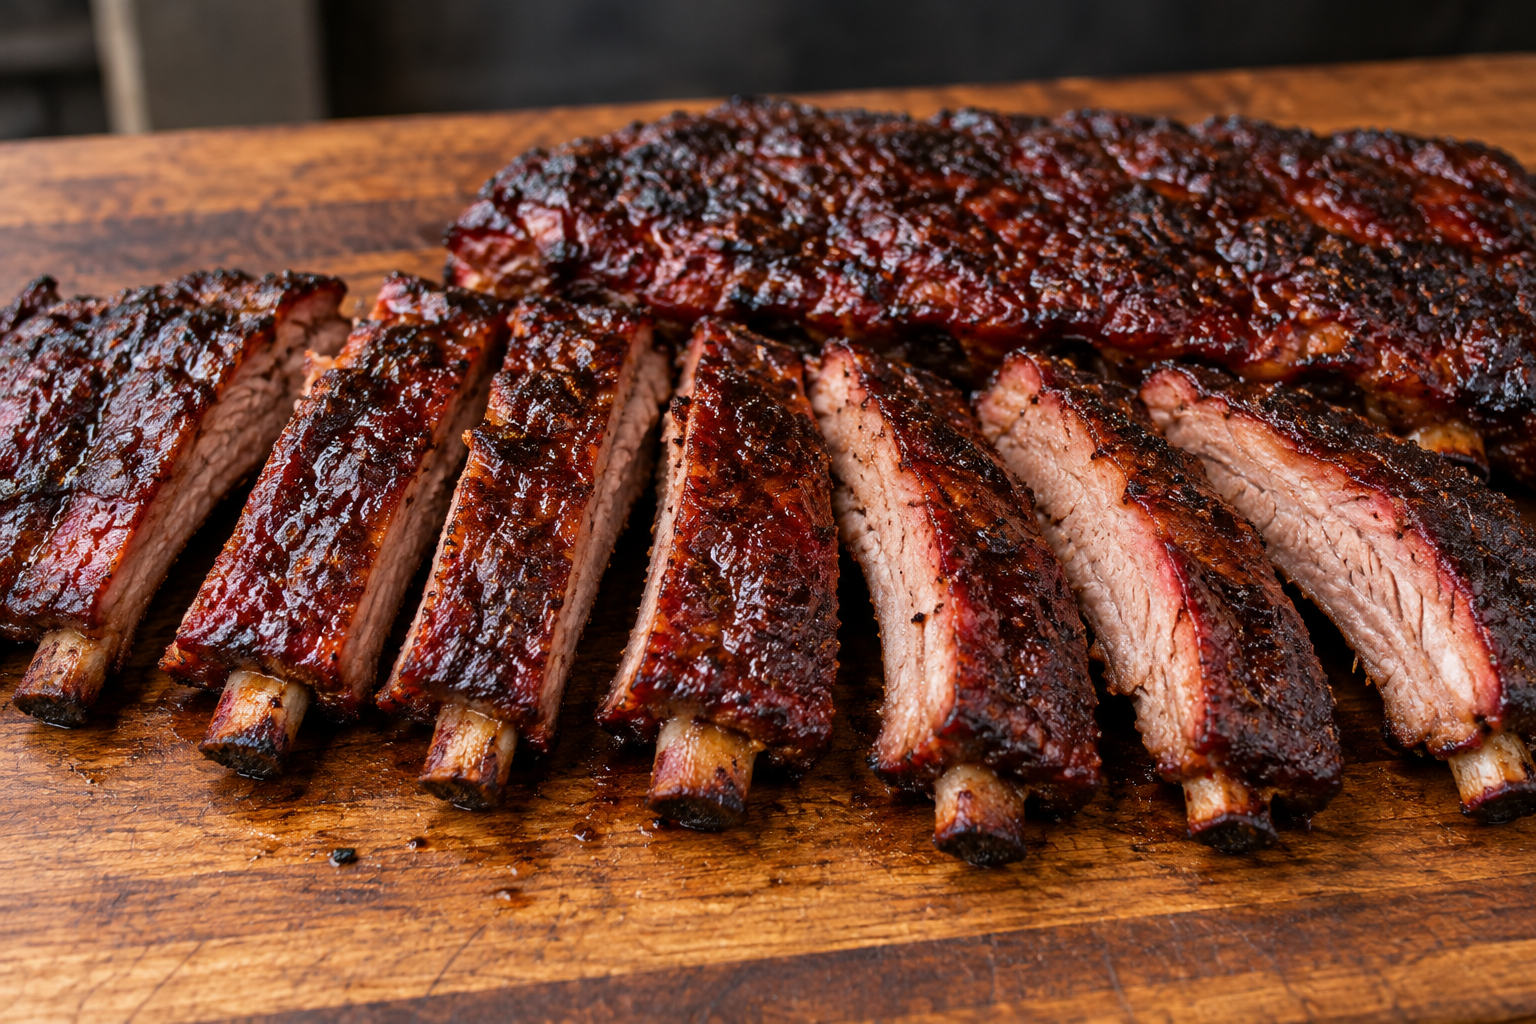
After the ribs have rested, flip the rack bone-side up so you can clearly see where each bone runs. This makes it much easier to slice clean, even portions without cutting into the bones.
Using a sharp knife, slice between each bone with smooth, controlled cuts. If you’re serving a group, you can cut the entire rack into individual ribs. Otherwise, leave a few ribs connected for larger portions.
Serve them while they’re still warm. If the ribs are cooked properly, each bite should be tender and juicy while still holding onto the bone.
✓ FLIP BONE-SIDE UP TO SLICE
✓ CUT CLEANLY BETWEEN THE BONES
✓ USE A SHARP KNIFE
✓ LOOK FOR A CLEAN BITE
✓ SERVE WHILE WARM
THE SMOKE METHOD
YOU KNOW WHAT TO LOOK FOR
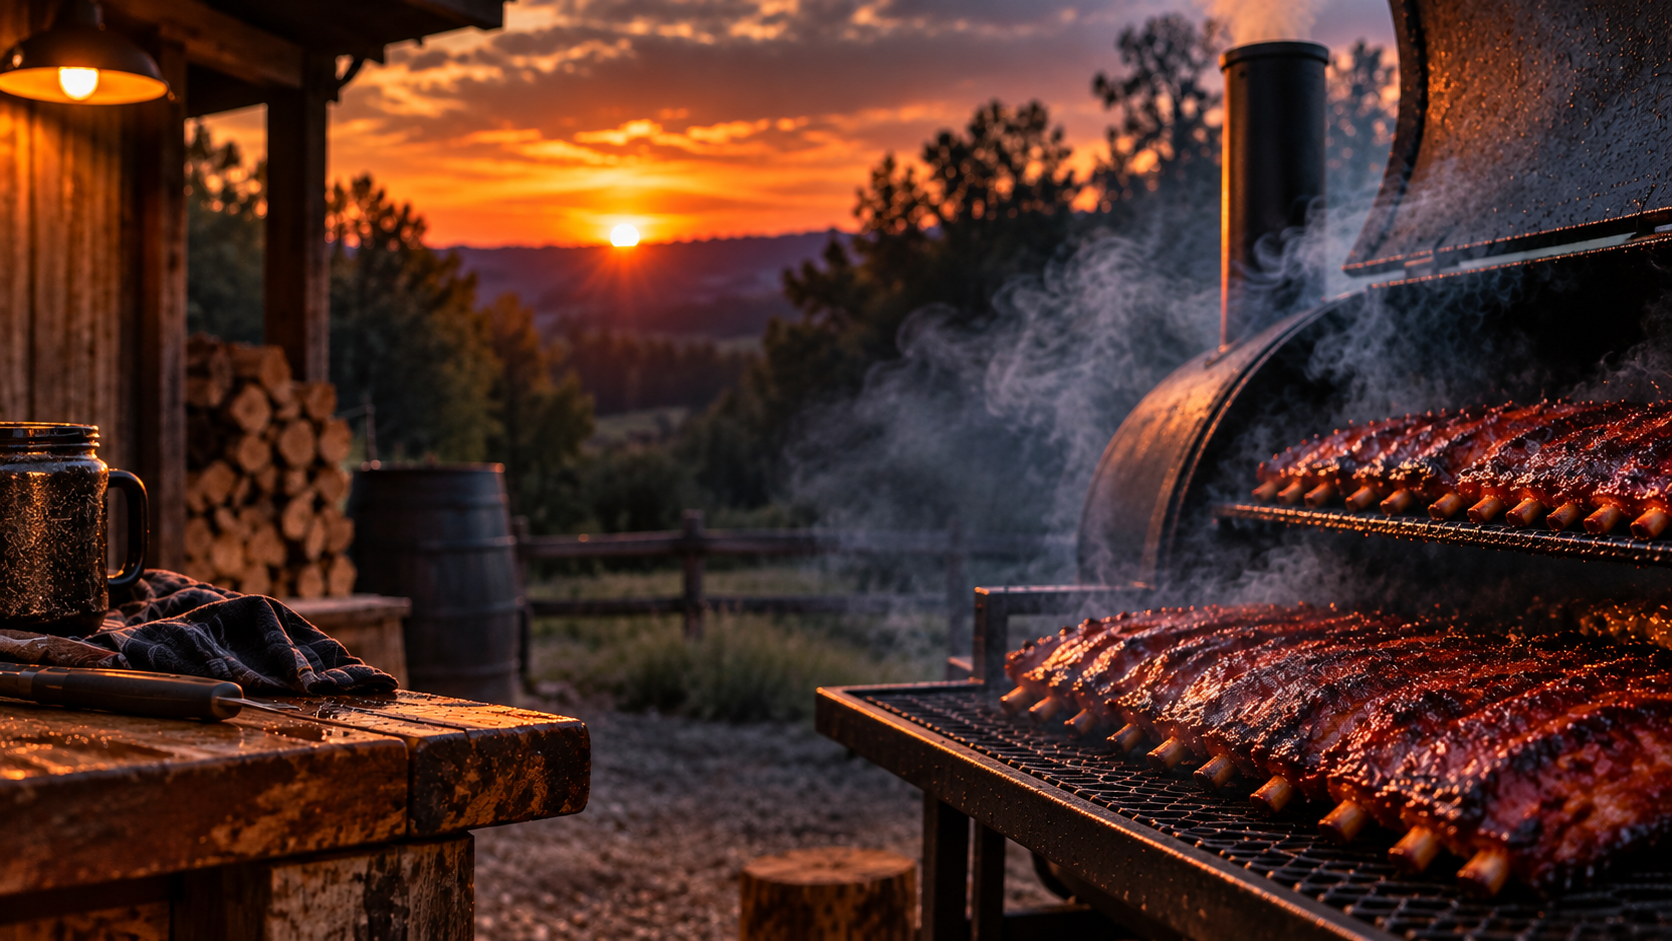
You’ve learned how to prep, smoke, test, rest, and slice ribs with confidence. Now it’s about putting those skills into practice and learning from every rack you cook.